A crystal grid is a perfect way to get in touch with your intuition. It’s easy to harness crystal power to develop clairvoyance, clairaudience, and other psychic abilities. Here’s how.
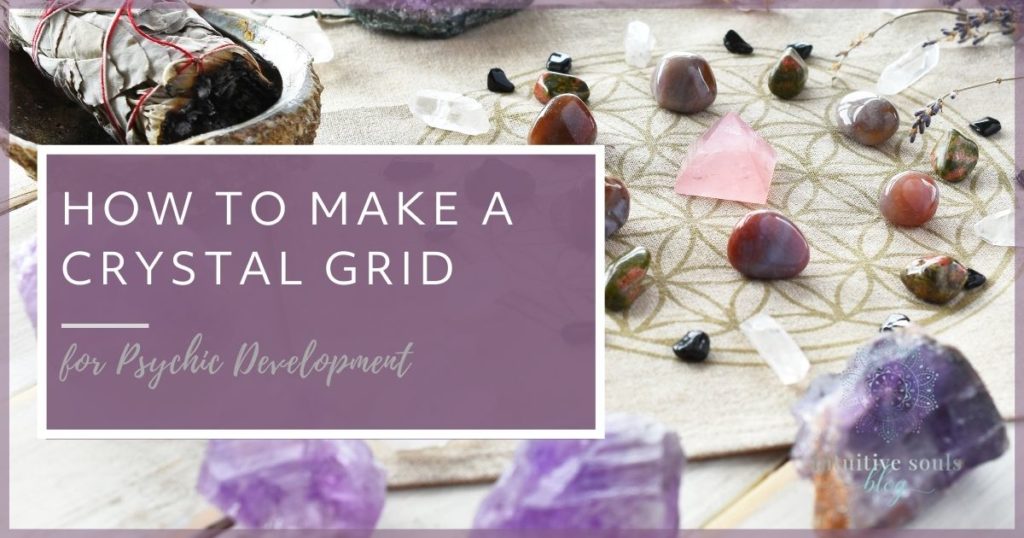
How to Make a Crystal Grid for Psychic Development
You don’t have to go far to convince me to use crystals in more ways. Not only are they gorgeous to look at (seriously, have you seen amethyst?), but they are also chock-full o’ benefits.
Certain crystals can…
- Ward off negative energies
- Help developing psychic abilities
- Offer psychic protection
- Increase psychic dreams
- Open your third eye
- Balance your chakras
- Deepen meditation
- Increase clairvoyance (psychic seeing)
- Strengthen spiritual connection
- Open your intuition
So, whether you’re new to the world of crystals, or have been a long-time resident, making a crystal grid should be at the tippy top of your to-do list… Especially for psychic development and unlocking clairvoyance.

What is a Crystal Grid?
A crystal grid is when you place a group of crystals in a pattern with the intention of accomplishing a certain goal.
Every individual crystal brings a unique benefit to the table. A crystal grid harnesses all their benefits “two-is-better-than-one” style. The union of already powerful gems is the key.
In this post, we’re chatting about using a crystal grid for psychic development. But they are also great for calming your nerves, improving your aura, and more.
6 Steps to Make a Crystal Grid
The most important thing in making a crystal grid is to follow your intuition.
As you’re creating your grid, listen to your intuition when it comes to the stones, layout, and location.
A crystal grid is super personal — so make yours custom fit to you and your intentions!
1. Determine your layout
Using the intention of increasing psychic development, start to envision your crystal grid.
What kind of layout do you see?
Is it a spiral? A medallion? Or maybe it’s a geometric shape!
Allow your mind to wander and go with what feels right.
2. Find your crystals
Once you’ve settled on your layout, you’ll need to figure out which crystals to include. While every part of this process is fun — this is my fav.
Some metaphysical shops (online and not) offer crystal grid kits that include a variety of stones. You can go that route, or choose crystals based on your intention and intuition.
If you’re buying crystals online, visit a reputable shop with great energy… like my favorite, Energy Muse*.
If you want to choose your own crystals, head over to a local metaphysical shop and walk around the store. Certain crystals will likely stand out to you, so go with those.
(You’ll find a list of crystals to increase intuition here.)
Here are some specific psychic development crystals you might like:
- Clairvoyance development (psychic seeing): Amethyst, Labradorite, Aquamarine* (List of crystals to develop clairvoyance)
- Clairsentience development (psychic sensing/feeling): Pink opal*
- Clairaudience development (psychic hearing): Selenite* (Top 3 crystals to strengthen clairaudience)
- Claircognizant development (psychic knowing/inner knowing): Labradorite, Citrine*
BTW: You’ll want to pick up one quartz crystal point* for the end of your intuitive grid.
3. Decide on location
Now that you have your layout and crystals, it’s time to think about where you want your grid to live.
You can build it on a moveable platform (like cardboard), or directly on the floor. I prefer to go the floor route because it grounds me.
To strengthen your intuition, I recommend placing the crystal grid under your bed.
Receiving this powerful energy while you sleep will increase your clairvoyance, clairaudience, and dreams! You can also place your creation next to you as you meditate for a deeper connection.
4. Cleanse your crystals
Before you begin, cleanse the area and crystals with sage or rose essential oil. This gives you a fresh platform to build on and ensures there’s no residual energy on the crystals.
5. Start building
Use your freshly charged crystals and start building!
- Lay out your stones, selecting the outermost crystals first.
- Then, working from the outside in, place the crystals where you want them.
- As you get close to completing your grid, choose your center stone. You can pick a stone for its energy or trust your gut — you can’t go wrong!
Tip: As you create, keep your intention in the front of your mind. Focus on connecting with your intuition, and strengthening it.
6. Finish your grid
- To complete your grid, place your final crystal in the center. You can also write your intention down, place it in the center of the grid, and place the crystal on top of it.
- Next, take your quartz crystal point and draw an invisible line between each stone. This energetically connects the stones — creating a powerful union and activating your grid!
Now that you’re done, don’t forget to hold your intention in your heart. And, as you continue on your journey, take note of the boosted results!
Pro tip: If you start to feel like your crystals need some TLC, dig out some rose essential oil! It will recharge and cleanse them.
*If you make a purchase through one of the links in this post, I’ll get a small affiliate commission (which I’ll use to buy a latte:))